Data Format - PNG
For
animated characters, they have
to be individual images per frame.

Resource Standards
Visual Novel Maker allows you to import your own resources. There is no standard image size for all the assets unless specified. We recommend that users don't go beyond 1024px ~ 2048px if they are planning to make games for mobile.
Characters
Images used for Character Expressions.
Data Format - PNG
For
animated characters, they have
to be individual images per frame.

Backgrounds
Images used for Backgrounds.
Data Format - PNG, JPG
Pictures
Images used for CGs, Animations, System, Picture and UI commands.
Data Format - PNG, JPG
Image Size:
CG Gallery Thumbs: The size of a gallery-thumb is 1 / 8 of the screen resolution. For example, if you have 1280x720 it would be 160x90.
Animations:
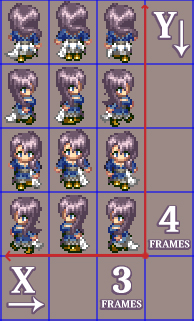
They have to be imported as sprite
sheets. The size varies based on the grid size of the image. For example:

If your character grid is 24 width
(X) x 32 height (Y), then to calculate:
(Width*Frames) px by (Height*Frames) px |
|
| Width | 24 x 3 frames = 72 |
| Height | 32 x 4 frames = 128 |
| Final Image Size | 72px by 128px |
Frames
A frame displays a graphical frame on screen which is useful for In-Game UI decorations such as In-Game Windows, Cursors, etc. It can be used if the Visual Type of the Show Picture command is set to Frame.

The actual look depends on image, also called skin. Of course it looks much better with a proper window background in addition to the frame. In the above example, the imported skin-image looks like this:

So a frame does not just displays the image at once, it displays multiple pieces of it and connects them together to form a frame.

The yellow marked areas are the corners and the red marked areas are the sides which are stretched to fit the size of the frame. The size of the corners and sides can be configured via fields of the Show Picture command.
Three-Part Images
A three-part image splits up the image into three different parts which are displayed differently. It is a more simple form of a frame. It can be used if the Visual Type of the Show Picture command is set to Three-Part Image..

The yellow marked left and right parts are fixed where the middle red-marked part is stretched. The actual image looks like this:

It is scaled-up of course and has a light-green background to make it more visible in the help-file. The original image has a transparent background. The size of the left, right and middle part can be configured via fields of the Show Picture command and also the orientation can be changed to vertical instead.
A three-part image is useful for In-Game UI related things such as simple buttons, scroll-bars, etc. If you look at the scroll-bar of the default In-Game UI:
That scroll-bar on the right is done using a three-part image.
Icons
Images used for Language Selection window.
Data Format - PNG, JPG
Masks
Images used for Masks.
Data Format - PNG, JPG
Fonts
Fonts to be used for the game.
Data Format - WOFF, FNT
WOFF Fonts: You can easily convert TTF files to WOFF by using tools such as WOFFer.
Bitmap Fonts: Supported are bmfont and bmGlyph fonts and any other font-generator exporting to fnt/bmfont format. The file format needs to be fnt-text. XML/Binary is not supported.. For bmGlyph, just select "bmfont" as output format. Formatting has no effect on bitmap fonts except text-color changes.
Important Note: Bitmap fonts can consume a lot of memory depending on charset, style, size and how many different bitmap fonts are used. Use bitmap fonts with care, especially on mobile devices like smartphones.
Music and Sounds
Audio tracks to be used in the game
Data Format - OGG, M4A
Live2D
Files for Live2D.
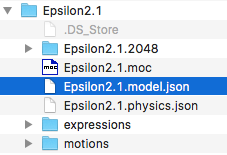
Data Format - The live2D model, motions and face-expresions are automatically packed into a .live2d archive (which is just a .zip archive) during the import process. To import a Live2D model, you have to select the .model.json file like described on this screenshot:

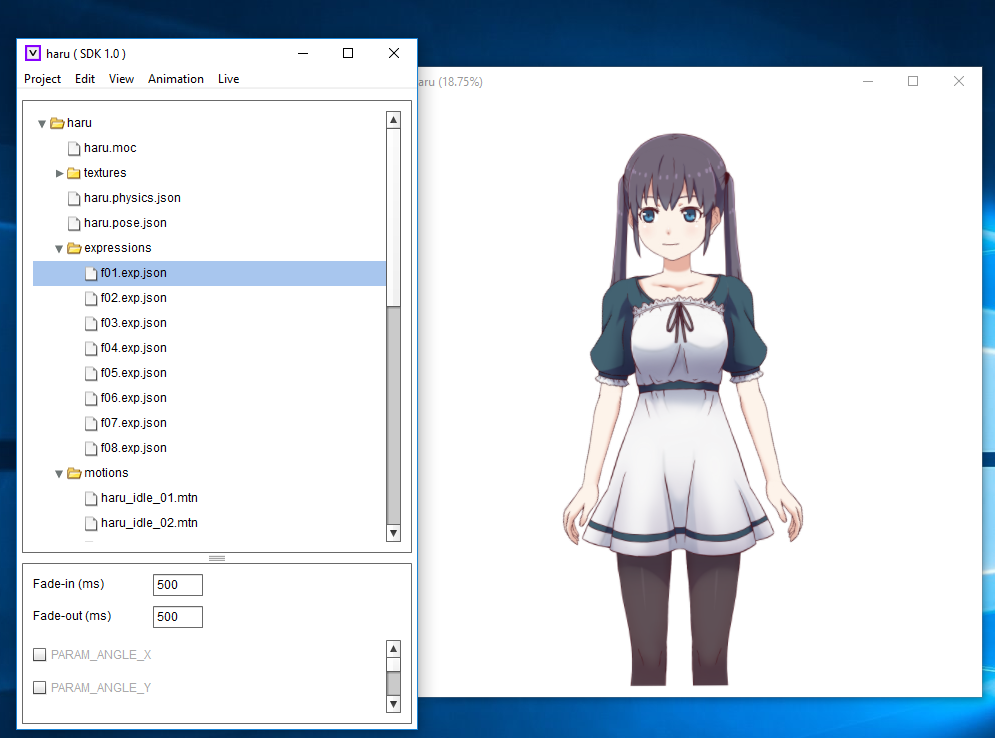
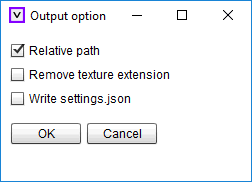
Most Live2D models come in JSON format. If not, you can use the Live2D Viewer app to export your Live2D model as JSON if you only have the raw model files. Make sure that your add all expressions, motions, physics and pose files properly before export the
JSON file.

Select File > Write > Settings File from the menubar to export to JSON.

Movies
Movie files for Movie commands.
Data Format - WEBM