Movie
Play movies in your game as a cinematic experience or to display as effects that enhance your scene.
Plays a movie file. When movies are played with this command the game will not continue until the movie has finished playing or has been skipped. The movie can be skipped by the player by clicking on the screen while it is playing and video skipping is enabled in game settings. The movie will be resized based on the screen resolution.
Volume - Controls the max volume the movie will play at.
Rate - Change the speed of the movie.
Shows a movie on screen similar to a picture and allows the processing of scene commands that come afterwards.
Number - The movie's index (ID). This determines their layer order.
File - The movie file from the Movies folder that is going to be displayed.
X - Specify the horizontal positioning of the movie on screen.
Y - Specify the vertical positioning of the movie on screen.
Duration - The duration of the appear-animation in milliseconds.
Continue will make the scene immediately continue.
Wait will make the scene wait until the appear-animation is done.
Effects - These options affect how the movie will appear.
Easing sets the tween movement of the movie. More information can be seen in Easing Effects page.
Animation sets the movement of the movie.
Movement is the origin point of the movie where it will appear from Left/Top/Right/Bottom.
Blending allows you to fade in/fade out the movie.
Masking allows you to mask the movie to a Masks file.
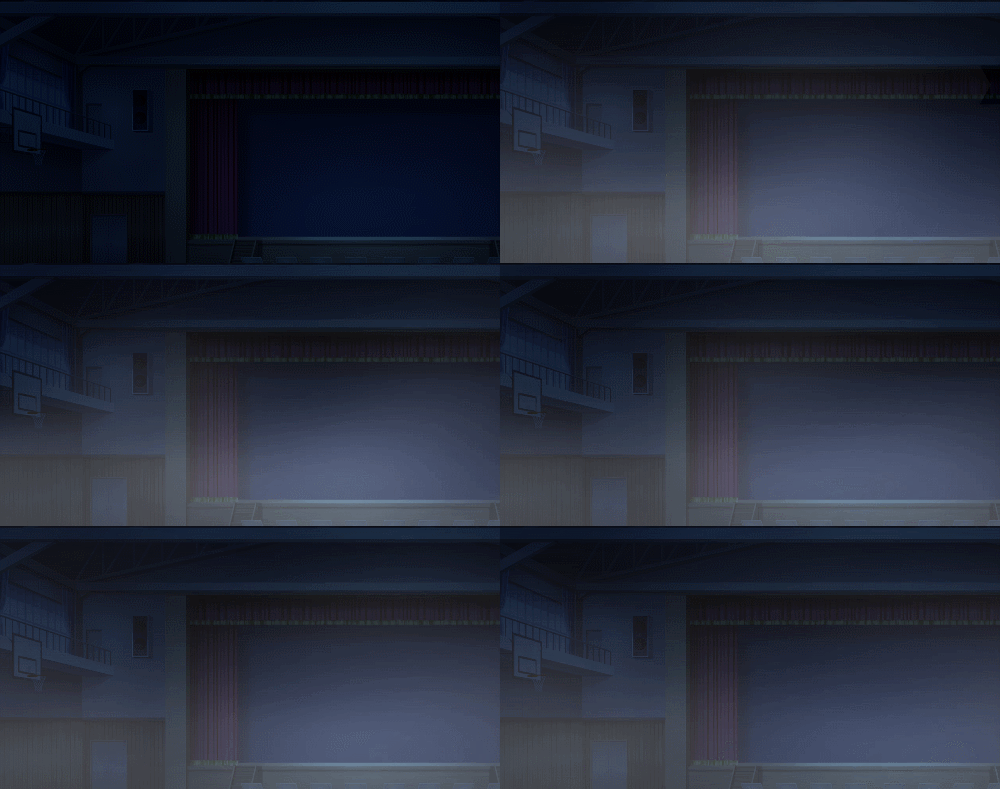
Vague is the smoothness of the mask edges. Here is a comparison with Vague values 0 (minimum) and 255 (maximum).


Display - Allows you to specify the display order and anchor for the movie.
Anchor - Select the location of your anchor point between top-left and center.
Setting the anchor to center is only important when the zoom and rotation commands will used and will not affect positioning.
Z-Order sets the display order of the movies.
Blend Mode - Determines how the movie is blended to the objects in the screen.
Normal is the standard blend mode.
Additive results the movie to be applied in a lighter color.
Subtractive results the movie to be applied in a darker color.
Viewport - The viewport the movie will be assigned to. The viewport determines if the movie gets affected by camera-movements or screen effects or not.
Scene - The movie is assigned to the scene-viewport and behaves like an object which belongs to the scene so it gets affected by camera-movements and screen effects.
User Interface - The movie is assigned to the ui-viewport and behaves like an object which belongs to the user interface so it doesn't get affected by camera-movements and screen effects.
Blends a movie to the specified opacity.
Number - The movie's index (ID) that you want to manipulate.
Opacity - The opacity.
Duration - The duration of the blend-animation.
Continue will make the scene immediately continue.
Wait will make the scene wait until the zoom animation is done.
Easing affects the blend animation. More information can be seen in Easing Effects page.
Zooms in/out a movie from the scene.
Number - The movie's index (ID) to apply zoom to.
Zoom X - Affects the horizontal zoom and size of your movie.
Zoom Y - Affects the vertical zoom and size of your movie.
Duration - The duration of the zoom in milliseconds.
Continue will make the scene immediately continue.
Wait will make the scene wait until the exit animation is done.
Effects - These options affect how the Movie will appear.
Easing sets the tween movement of the Movie. More information can be seen in Easing Effects page.
Manipulate the position of your movie.
Number - The movie's index (ID) that you want to manipulate.
X - Specify the horizontal positioning of the movie on screen.
Y - Specify the vertical positioning of the movie on screen.
Duration - The duration of the move-animation in milliseconds.
Continue will make the scene immediately continue.
Wait will make the scene wait until the move-animation is done.
Easing sets the tween movement of the movie. More information can be seen in Easing Effects page.
Applies motion blur to your Movie. This must be set above the Movie's movement commands such as [Move Movie] or [Move Movie Along Path].
Number - The movie's index (ID) that you want to manipulate.
Motion Blur - Set Yes to apply motion blur, No to turn it off.
Spawn Time - The amount of frames after a new copy is created.. By default, the amount is 2.
Dissolve Speed - The rate at which the spawned copies dissipate. Specifically, the opacity of the copies are dropped every frame.
Opacity - The opacity the copied movie starts at the time it is spawned. By default, it is at 100.
For example, if the dissolve speed is 2, the shadow/ghost/particle is completely invisible/dead after 50 frames.
Allows you to create custom path of movement through the use of points and curves to move the Movie.
Number - The movie's index (ID) that you want to manipulate.
Path - Opens up a path editor that allows you to define the path via curves. You can press right click to delete a motion point.
The S circle ( ) is the start point of the motion.
The green circle ( ) is a point in the motion that allows you to have a more dynamic motion.
The yellow circle ( ) adjusts the motion curve. If you press a green circle (
 ), you can adjust the motion for that path as well.
The E circle ( ) is the end point of the motion.

Mirror Vertical - Flips the curve vertically.
Mirror Horizontal - Flips the curve horizontally.
Rotate 90* - Rotates the curve at 90 degrees.
Effects - Allows you to set sound effects at timed intervals while the Movie moves along the path.
Loop - Allows you to repeat the path for the extent of its duration.
None - Turns the loop off.
Normal - Loops the path from the end point.
Reversed - Loops the path in the opposite direction from the end point.
Duration - The time the motion has to finish in milliseconds.
Continue will make the scene immediately continue.
Wait will make the scene wait until the motion is done.
Rotate your movie at specified speed and direction.
Number - The movie's index (ID) that you want to manipulate.
Direction - Set the text to rotate in clockwise or counterclockwise direction.
Speed - The speed of the rotation. The higher the value, the faster it rotates.
Duration - Determines how long the rotation will take place.
Continue will make the scene immediately continue.
Wait will make the scene wait until the exit animation is done.
Easing affects the animation of the rotation. More information can be seen in Easing Effects page.
Changes the color tone of the currently displayed movie.
Number - The movie's index (ID) that you want to manipulate.
Tone Control - Controls the movie color. Adjust the color tone (-255 to 255) for Red, Green, and Blue.
Use Grey to set the intensity (0 to 255) of the grayscale filter. The higher the value, the greater the overall strength of the color.
Normal, Dark, Sepia, Morning and Night buttons at the bottom of the dialog box are to quickly apply the standard values for the tones represented by their respective names.
The Normal button reverts to the original color tone. You can check color tone changes in the preview area on the top side of the dialog box.
Duration - Determines how long the tint effect will take place.
Continue will make the scene immediately continue.
Wait will make the scene wait until the exit animation is done.
Easing affects the animation of the tint. More information can be seen in Easing Effects page.
Fills the movie with the specified color for an instant, and then gradually reverts to the original color.
Number - The movie's index (ID) that you want to manipulate.
Color Control - Controls the flash color. Use the Red, Green, and Blue slider bars (0 to 255) to specify the color to flash.
You can check the color you specified in the preview area on the top side of the dialog box. Use Power to specify the color's opacity (0 to 255).
Setting Power to "0" makes the color completely transparent, rendering it invisible on screen.
Duration - Determines how long the flash effect will take place.
Continue will make the scene immediately continue.
Wait will make the scene wait until the flash animation is done.
Redefine the borders of your movie to frame your movie the way you wish to display it without having to edit the original movie file.
Number - The movie's index (ID) that you want to manipulate.
X - Begins the cropped movie from x pixels from the left or right of the original dimensions of the movie.
Y - Begins the cropped movie from x pixels from the top or bottom of the original dimensions of the movie.
Width - Sets the new width of your cropped movie starting from the X position you set above.
Height - Sets the new height of your cropped movie starting from the new Y position you set above.
Applies a mask to a movie.
Number - The movie's index (ID) that you want to manipulate.
File - Choose a mask file to apply to your movie(s).
File - Choose a mask file to apply to your movie.
Movie allows you to use a movie file ask a mask. Your movie file will need to be imported to the Movies folder in .webm format.
Even if your movie file contains color information it will automatically take the red color-channel for masking.
Type- Select what kind of masking you would like to do.
Static allows you to overlay a mask movie which is applied with alpha.
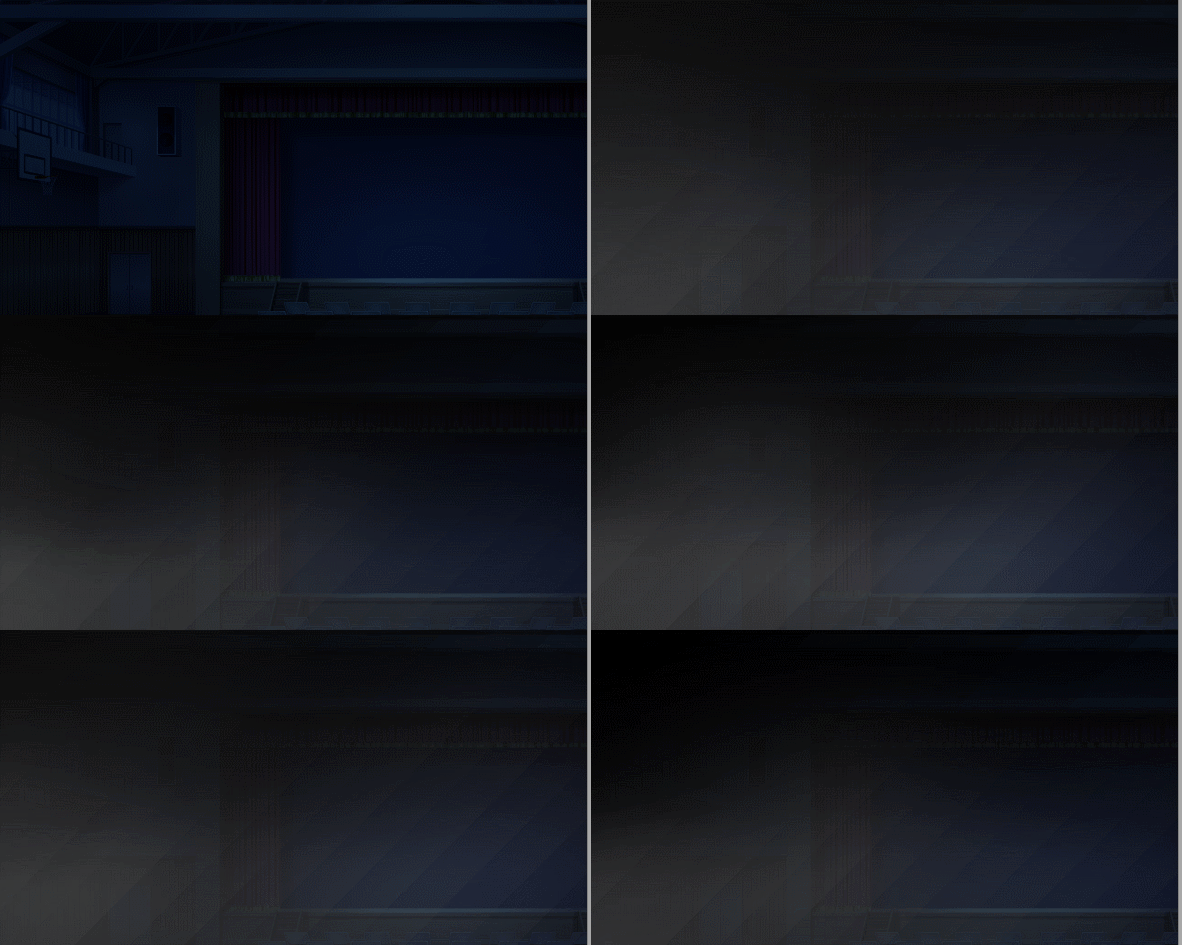
Offset X moves the mask movie left or right depending on the values set.
Offset Y moves the mask movie top or bottom depending on the values set.
Dynamic masking allows you to use mask to display specific parts of a movie.
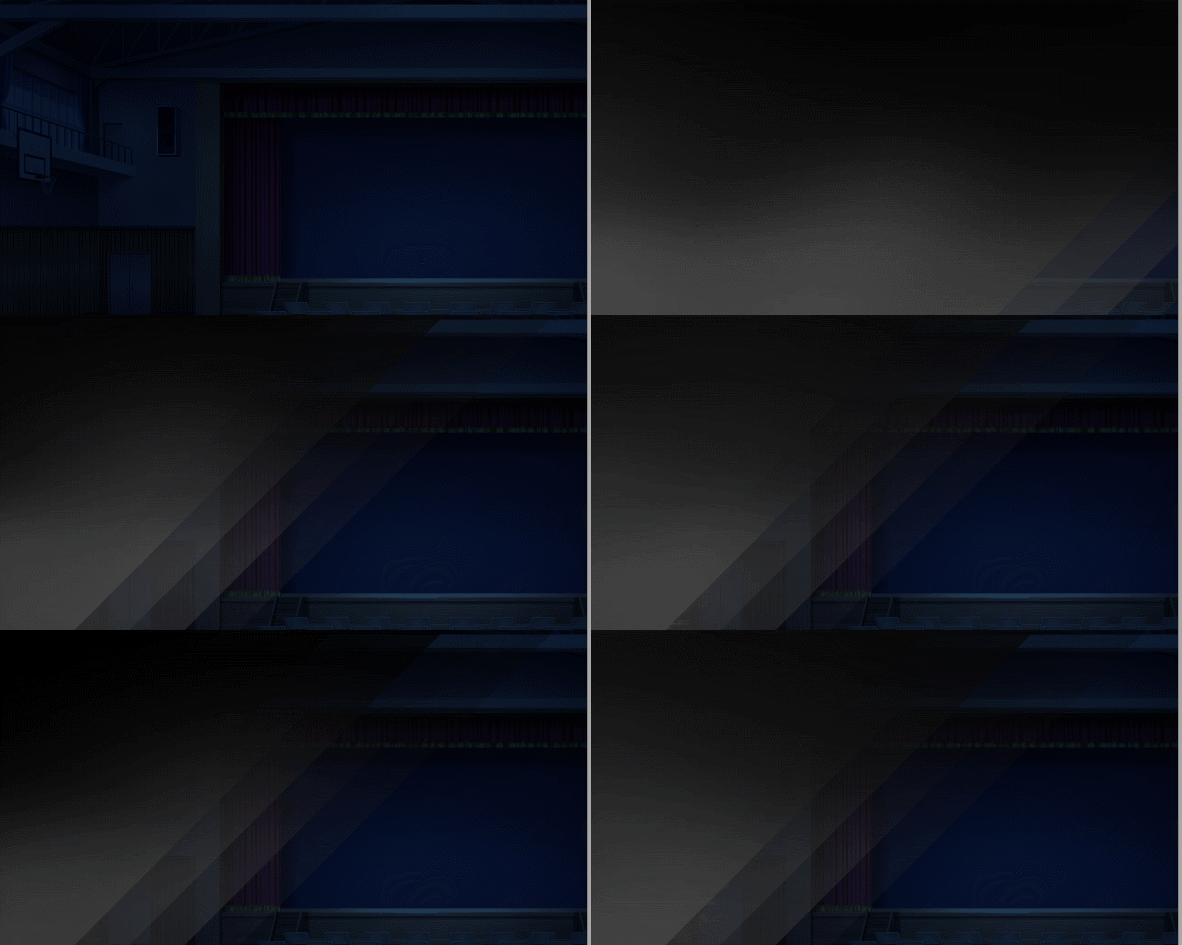
Value can be any amount from 0 to 255. It controls which pixels from the masked movie will be visible.
If it's 0, then it will display none of the movie mask. The more values you add, the more of the movie mask is visible.
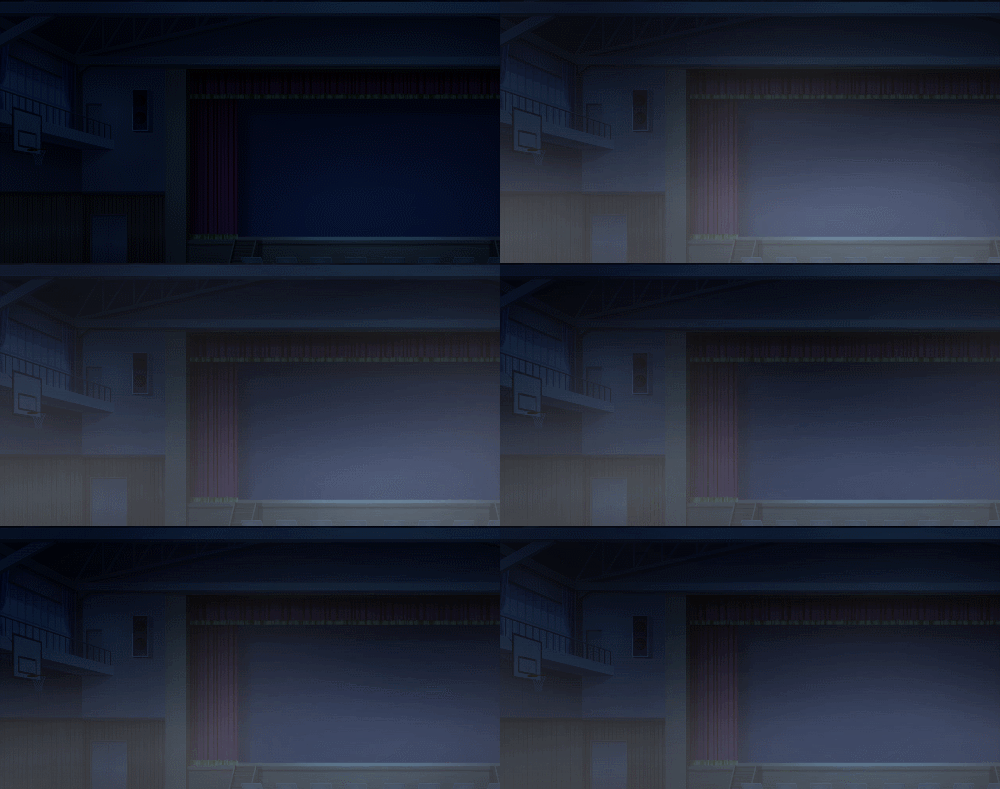
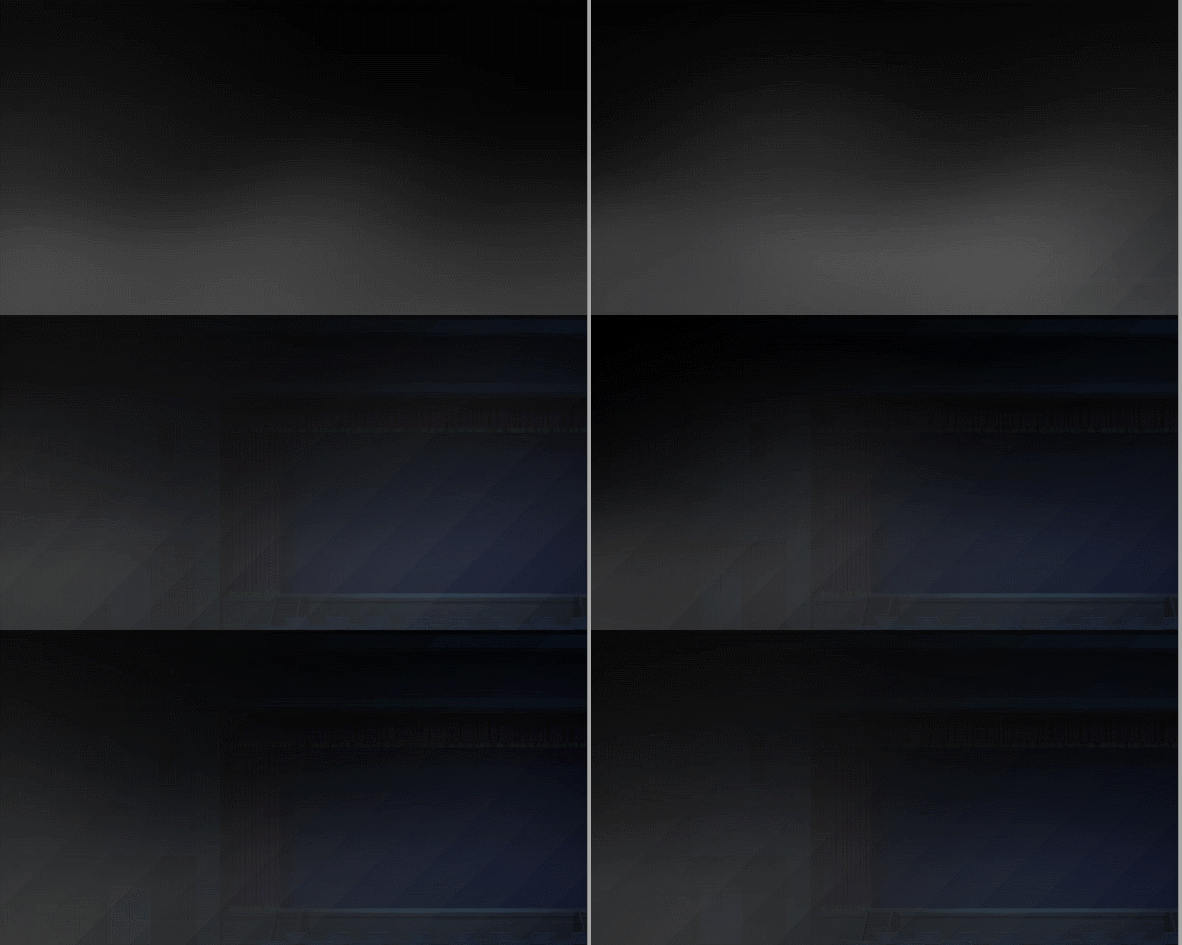
Vague allows you to apply smoothing on the mask edges. Here is a comparison with Vague values 0 (minimum) and 255 (maximum)

Duration - Determines how fast the mask effect will take place.
Continue will make the scene immediately continue.
Wait will make the scene wait until the masking effect is done.
Effects - These options affect how the movie will appear.
Easing sets the tween movement of the movie. More information can be seen in Easing Effects page.
Erase a movie displayed on scene.
Number - The movie's index (ID) that you want to remove from the screen.
Duration - The time it will take for the movie to disappear from the scene.
Continue will make the scene immediately continue.
Wait will make the scene wait until the exit animation is done.
Easing affects the exit animation. More information can be seen in Easing Effects page.
Animation sets the erase-animation of the movie.
Movement is the origin point of the movie where it will disappear to from Left/Top/Right/Bottom.
Blending allows you to fade out the movie.
Masking allows you to mask the movie to a Masks file.
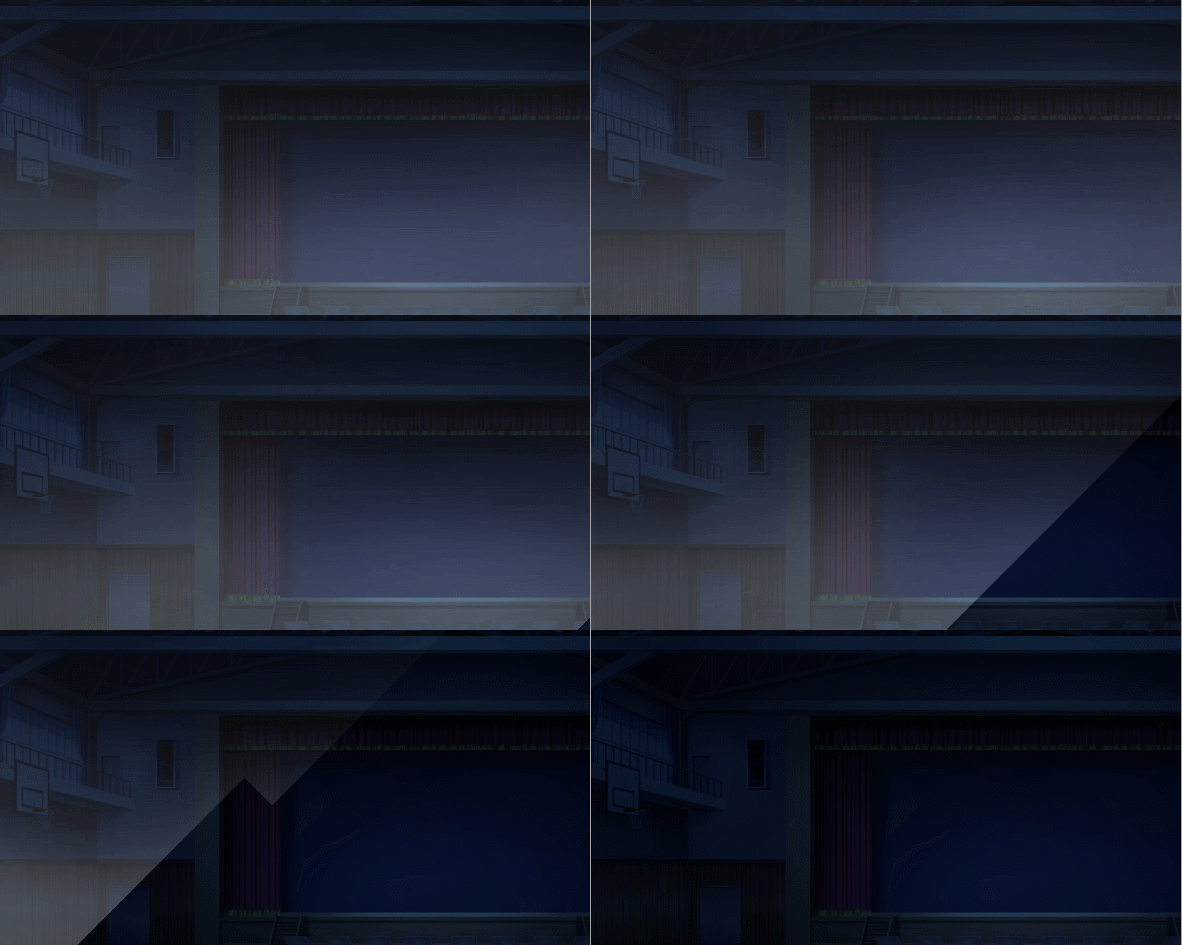
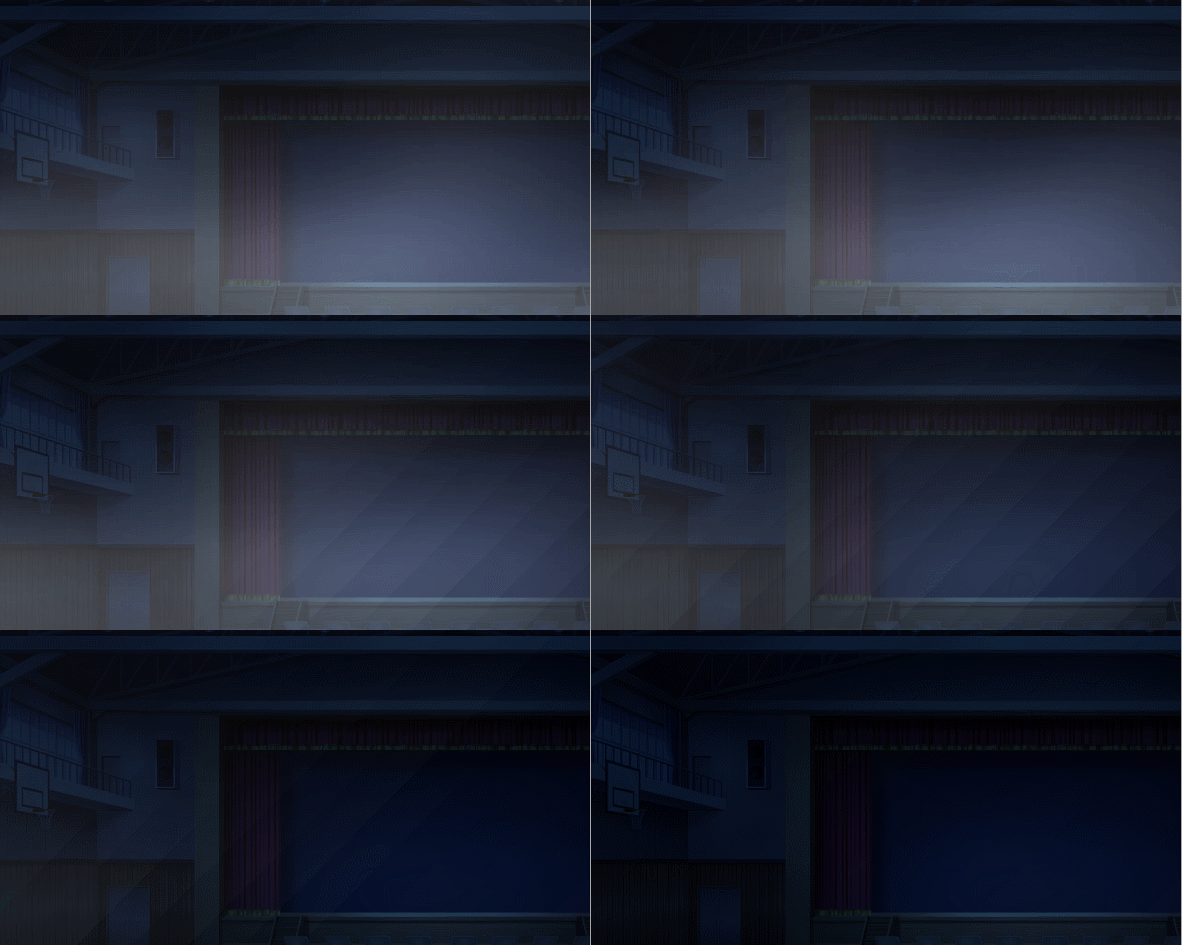
Vague is the smoothness of the mask edges. Here is a comparison with Vague values 0 (minimum) and 255 (maximum).
Applies an effect to a movie..
Type - The effect that will be applied to the background.
Wobble makes the movie move in irregular and staggering motion. That only works if looping is disabled.
Power sets the intensity of the wobble. It makes the wobble effect more visible the higher it is.
Speed sets the speed of the wobble. The higher it is, the faster it is.
Orientation - Sets the wobble direction.
Vertical sets the wobble direction to the vertical direction.
Horizontal sets the wobble direction to the horizontal direction
Both sets the wobble direction to both directions.
Duration sets how long, in milliseconds, the effect will take place.
Blur has no effect on movies..
Pixelate makes the movie appear pixelated/blocky.
Width sets the width of a single block/pixel.
Height sets the height of a single block/pixel.
Duration sets how much time, in milliseconds, it takes until the pixelation reaches the specified block/pixel-size. Use this to smoothly pixelate the movie.
Easing applies tweening to the effect animation. More information can be seen in Easing Effects page.
Allows to override default values for movie specific commands.
Appear Duration is the duration of the show-animation in milliseconds.
Disappear Duration is the duration of the erase-animation in milliseconds.
Appear Effects
Appear Duration is the duration of the show-animation in milliseconds.
Disappear Duration is the duration of the erase-animation in milliseconds.
Appear Effects
Easing is the easing settings used for the show-animation.
Animation is the animation settings for the show-animation.
Disappear Effects
Easing is the easing settings used for the erase-animation.
Animation is the animation settings for the erase-animation.
Display
Anchor - Select the location of your anchor point between top-left and center.
Setting the anchor to center is only important when the zoom and rotation commands will used and will not affect positioning.
Z-Order is the Z-Index of a movie.
Motion Blur - Set Yes to apply motion blur, No to turn it off.
Spawn Time - The amount of frames after a new copy is created. By default, the amount is 2.
Dissolve Speed - The rate at which the spawned copies dissipate. Specifically, the opacity of the copies are dropped every frame.
Opacity - The opacity a copy
starts at the time it is spawned. By default, it is at 100.
For example, if the dissolve speed is 2, the shadow/ghost/particle
is completely invisible/dead after 50 milliseconds.